Whether you're looking to optimize your Salesforce solution or need custom development,
our team is here to help you unlock the full potential of Salesforce.
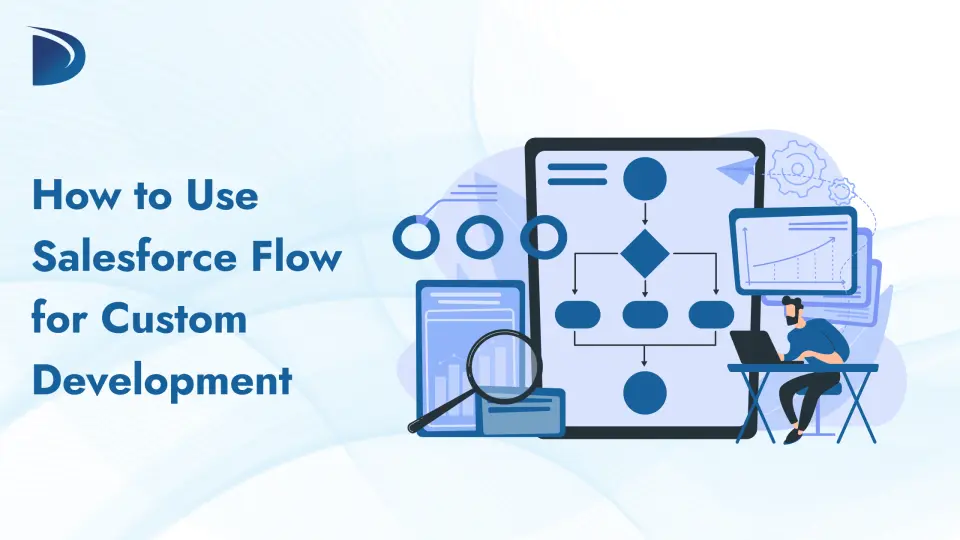
Salesforce Flow is a powerful declarative automation tool that enables administrators and developers to create custom business logic, user interfaces, and integrations with minimal or no code. As the go-to automation tool in Salesforce, Flow has replaced Workflow Rules and Process Builder, becoming essential for custom development. It allows you to automate complex processes, build guided user experiences, and extend Salesforce functionality efficiently.
This guide covers the fundamentals of Salesforce Flow, its key features, a step-by-step tutorial for building a custom flow, and best practices to ensure robust and scalable solutions. Whether you’re an admin or a developer, Flow empowers you to deliver value quickly and reduce dependency on custom code.
Why Use Salesforce Flow for Custom Development?
Flow simplifies customizations with a visual, point-and-click interface called Flow Builder. Its advantages include:
Declarative Automation: Automate data operations, notifications, approvals, and integrations without coding. For advanced needs, integrate invocable Apex or Lightning Web Components (LWCs).
Versatility: Supports both backend automation (e.g., record updates) and interactive user interfaces (e.g., forms or wizards).
Efficiency: Build, test, and deploy faster than traditional coding using change sets or packages.
Cost-Effective: Suitable for Professional Edition orgs (up to 50,000 flow elements) and scalable for Enterprise/Unlimited editions.
Future-Proof: Ongoing enhancements, such as collection filtering and AI-assisted building, reduce the need for custom code significantly.
Flow is ideal for both admins and developers, enabling a blend of declarative and programmatic approaches.
Types of Flows in Salesforce
Salesforce offers various flow types tailored to different custom development needs. Choose the appropriate type based on your use case:
Flow Type
Description
Best For Custom Development
Screen Flow
Interactive flows with user input/output screens.
Custom UIs, wizards, forms (e.g., onboarding portals in Experience Cloud).
Record-Triggered Flow
Automates actions on record create, update, or delete.
Backend logic like field updates, validations, or notifications.
Schedule-Triggered Flow
Runs on a predefined schedule.
Batch jobs, data cleanups, or recurring reports.
Autolaunched Flow
Backend-only, triggered by Apex, processes, or APIs.
Reusable logic or integrations via subflows.
Platform Event-Triggered Flow
Responds to Salesforce or external platform events.
Real-time automations, such as syncing with third-party systems.
Orchestration Flow
Coordinates complex, multi-step processes with AI agents.
Workflows involving approvals and external data.
For most custom development, start with Record-Triggered or Screen Flows.
Key Components of Flow Builder
Flow Builder provides a visual canvas to construct logic by dragging and dropping elements. Key components include:
Elements:
Get Records: Query Salesforce data, including related records in a single element.
Action: Call Apex, send emails, post to Chatter, or integrate with external services.
Screen: Create user interfaces with text, choices, file uploads, or data tables.
Decision: Branch logic based on conditions.
Assignment/Formula: Set variables or compute values.
Loop: Iterate over collections for bulk processing.
Resources: Variables, constants, and collections for temporary data storage.
Connectors: Link elements, including fault paths for error handling.
Subflows: Modular, reusable flows for cleaner designs.
Developers can extend functionality with custom invocable Apex actions or LWCs for screens.
Step-by-Step Guide: Building a Custom Record-Triggered Flow
This tutorial demonstrates how to create a flow that notifies a manager via email (with an attachment) when an Opportunity exceeds $50,000 and updates a custom field.
Prerequisites
Access to Setup > Flows in Salesforce.
A sandbox environment for testing.
Familiarity with the Opportunity object.
Steps
Create the Flow:
Navigate to Setup > Flows and click New Flow.
Choose Record-Triggered Flow, select the Opportunity object, and set the trigger to A record is updated.
Add a Decision element to check if the Opportunity owner has a manager (Owner.ManagerId Is Null False).
From the “Yes” outcome, add an Assignment element to set a text variable varManagerEmail to Owner.Manager.Email.
Add a Get Records element to retrieve the latest PDF attachment from ContentDocumentLink (filter: LinkedEntityId = Record.Id and ContentDocument.FileType = PDF).
Dadhich Rami is an experienced professional with over 9 years in the tech industry, specializing in both Android development and Salesforce solutions. He began his career as an Android developer, focusing on creating user-friendly and efficient mobile applications. Over time, Dadhich expanded his expertise to Salesforce, where he has customized and optimized CRM systems to meet diverse business requirements.

 Dadich Rami